




A bench is one of the best first projects in woodworking. There are no drawers to fit, no doors to hang and nothing that has to close with a satisfying click. It is a seat on four legs, held together by joints you can cut with a handsaw, a chisel and a bit of patience. Get it right and you have a piece of furniture that will outlast the tools you made it with. Get it slightly wrong and you still have a bench. That is a very good place to start.
Choose the oak before you worry about the design
For indoor furniture in the UK, European oak is the sensible default: hard, stable once dry and available in sensible widths. American white oak behaves similarly and is often easier to find in thicker sections. Whichever you buy, the key word is dry. Kiln-dried timber sitting at around 8–12% moisture content will stay put in a heated house. Damp boards will move, cup and open joints as they settle.
Decide early whether you are buying sawn boards or planed all round (PAR). Sawn is cheaper and gives you more choice of width, but you will need a planer thicknesser or a friendly workshop to flatten it. PAR costs more and saves you a job — worth it for a first build.
What to look for on the rack
- Grain running straight along the length rather than swirling out of the edge.
- No loose knots, splits or shake, especially near the ends where you will cut your joints.
- Boards stored flat and off the floor, not leaning against a wall in a cold corner.
- Consistent thickness across the boards you plan to use in the seat.
Decide the size, then write a cutting list
A comfortable bench seat sits around 440–460mm from the floor. For a hallway or the end of a bed, 1000–1200mm long and 350–400mm deep works well. A 44mm-thick seat feels substantial without becoming a lifting exercise, and 70mm square legs look right under it.
Sketch the bench full size on a sheet of MDF or hardboard if you can. It costs half an hour and saves a great deal of head-scratching at the saw. Then write a cutting list before you cut anything:
- Four legs at 70 x 70 x 420mm, or laminated from two 44mm boards if you cannot find thick stock.
- Two long rails and two short rails at 70 x 44mm, cut to suit your seat size.
- Three or four seat boards, cut 20mm over length so you can trim them flush later.
- One central stretcher if the bench is longer than 1100mm.
Joints you can cut with basic tools
You do not need a mortise and tenon machine to make a strong bench. Dowels are the most forgiving option for joining rails to legs: drill matching holes with a simple jig, dry fit, and you will quickly see whether your marking out is accurate. Three 10mm dowels per joint is plenty.
If you fancy something more traditional, a through tenon on the top rail is not as difficult as it looks. Saw the shoulders, chop the mortise slightly under size, then pare back to your lines. Wedge it from the outside and you have a joint that is both strong and worth looking at.
Screws are perfectly acceptable for the seat boards. Use stainless steel or brass rather than ordinary steel — oak contains tannins that react with bare steel and leave black stains around every fixing. Always pilot drill and countersink, then plug the holes with offcuts cut from the same board so the grain matches.
Dry fit, then glue up
Assemble the whole bench without glue first. Check the diagonals of the leg frame with a tape measure — if they match, the frame is square. Check the seat sits flat on the rails with no rocking. Only then reach for the glue.
Use a D3-rated PVA or a polyurethane adhesive. Work on a flat surface, clamp gently and check the diagonals again before the glue grabs. Wipe squeeze-out away with a damp cloth while it is still soft, and leave the bench overnight before you do anything else to it.
Tip: dry fit twice and glue once. Almost every frustrating bench build comes from rushing the rehearsal.
Sanding decides how the bench feels
Sanding is not glamorous, but it is the difference between a bench that looks homemade and one that looks made. Work through the grits in order and do not skip any: 80 or 100 to remove machining marks, 120 to refine, then 180 to finish. Going straight to a fine grit just polishes the scratches underneath.
On the final grits, always sand along the grain. Cross-grain scratches are invisible on bare timber and glaringly obvious once oil hits the surface. A random orbital sander connected to dust extraction does most of the work; use a cork block by hand on the edges and any curved sections.
Then raise the grain: wipe the whole bench with a cloth dampened with water, let it dry, and sand lightly at 180 again. This lifts the crushed fibres so the first coat of finish does not feel rough. Finally, break the sharp edges of the seat with a small chamfer or round-over. Crisp corners look good on paper and dig into legs in practice. Wear a mask while sanding — oak dust is an irritant, and there will be a lot of it.
A finish that survives real life
For an indoor bench, a hard-wax oil is the easiest finish to live with. It soaks into the timber, leaves a natural matt sheen and can be spot-repaired without stripping the whole piece. Danish oil and tung oil work on the same principle. A water-based lacquer gives a more protective film and keeps oak paler, but it is less forgiving to apply.
Whichever you choose, thin coats beat thick ones. Apply with a lint-free cloth or brush, leave it to sit for ten to fifteen minutes, then wipe off every trace of surplus. Come back an hour later and check for patches you missed. Leave each coat overnight, denib lightly with a fine abrasive pad, then repeat. Three coats is a good baseline for a bench that will see daily use.
One safety note worth taking seriously: oil-soaked rags can heat up and ignite on their own. Spread them out flat to dry outdoors, or drop them in a sealed metal bin. Never leave them crumpled in a pile in the workshop.
Getting it right first time
Set the finished bench on a hard, flat floor and check for rocking. If one leg is short, mark it, take off a whisker with a block plane or a sanding block, and check again — small corrections, tested often. Write the finish you used on a scrap of paper and keep it in a drawer, along with the offcuts. In a year or two, when the bench needs a refresh, you will be glad you did.
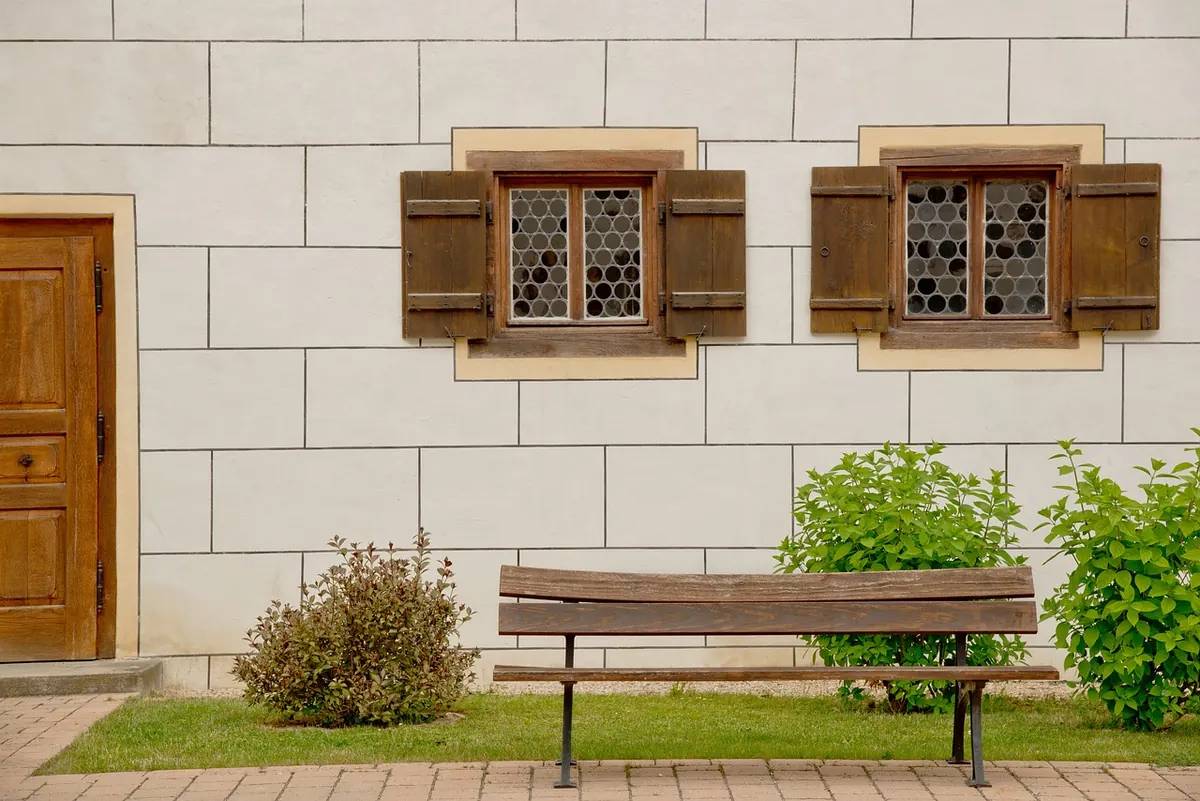
Photo: picjumbo_com / Pixabay